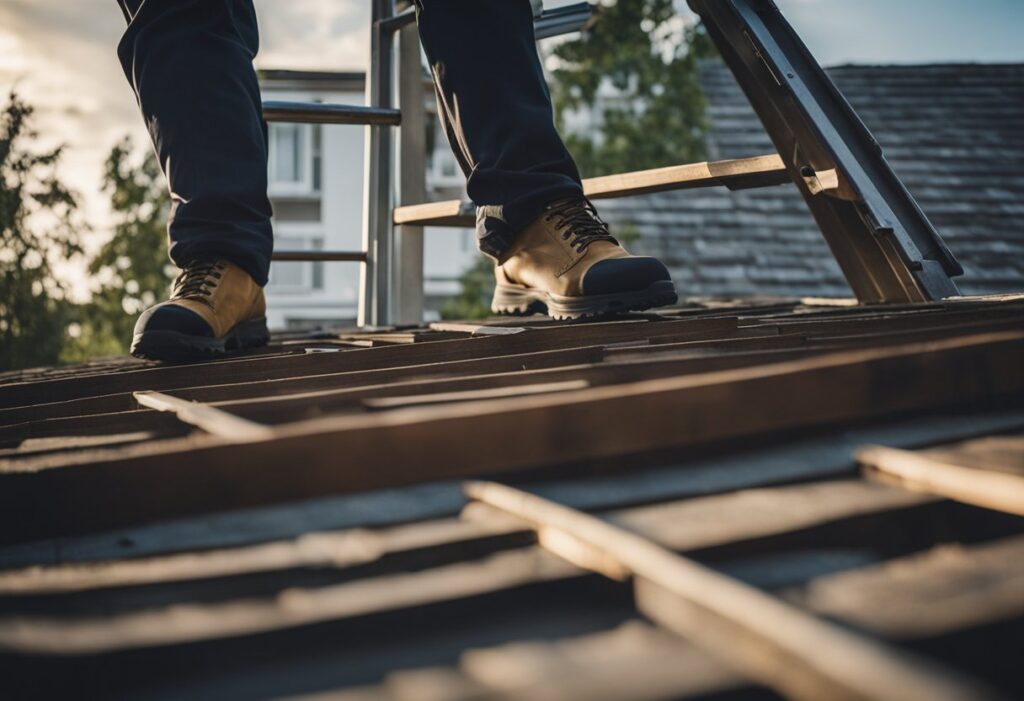
Regular roof inspections are crucial for maintaining your home’s structural integrity and preventing costly repairs. Professional inspections offer a thorough assessment, but homeowners can perform basic checks to spot potential issues early.

To test your roof, start with a visual inspection from the ground using binoculars to look for missing shingles, damaged flashing, or sagging areas. Inside the house, check for water stains on ceilings or walls, which may indicate leaks. In the attic, look for signs of moisture, mold, or daylight coming through the roof boards.
For a more comprehensive evaluation, consider hiring a professional roofing contractor. They have the expertise and equipment to safely inspect hard-to-reach areas and identify less obvious problems.
Identifying Roof Leaks

Detecting roof leaks requires careful inspection and specific techniques. Professional tools and expert services can greatly aid in pinpointing problem areas before they cause extensive damage.
Using Detection Equipment
Moisture meters are essential for identifying hidden leaks. These devices detect dampness in walls and ceilings, even when not visible to the naked eye. Infrared cameras reveal temperature differences, highlighting areas where water infiltration has occurred.
Smoke pencils help trace air movement, useful for finding small gaps where water might enter. For flat roofs, electronic leak detectors use low-voltage current to locate breaches in the roofing membrane.
Dye testing involves applying colored water to suspected leak areas. This method helps track the water’s path and pinpoint entry points. Always start testing from the lowest point and work upwards to mimic natural water flow.
Professional Inspection Services
Certified roof inspectors bring expertise and specialized equipment to leak detection. They perform comprehensive assessments, including visual inspections, moisture readings, and core sampling if necessary.
Professionals use advanced techniques like aerial drone surveys to capture detailed imagery of the entire roof surface. This method is especially useful for large or complex roof structures.
Many inspection services offer thermal imaging scans, which can detect water-damaged areas not visible to the naked eye. These scans are particularly effective at night when temperature differences are more pronounced.
Experts can also conduct water tests, systematically applying water to different roof sections while monitoring the interior for leaks. This method is highly effective but requires careful execution to prevent additional damage.
Assessing Water Tightness

Testing a roof’s water tightness is crucial for identifying potential leaks and vulnerabilities. This process involves methodical inspection and targeted water application to pinpoint problem areas.
Performing a Water Test
Start by ensuring the roof is completely dry. Position someone inside the building to monitor for water ingress. Use a garden hose to apply water systematically, beginning at the lowest point and working upwards. Focus on seams, flashing, and penetrations. Apply water for 10-15 minutes in each area, moving slowly across the roof surface.
Pay special attention to valleys, chimneys, and vents. These are common leak points. If water enters the building, mark the location for further investigation.
For flat roofs, create temporary dams with foam weatherstripping to pool water in specific sections. This helps isolate leak sources.
Analyzing Roof Covering
Inspect the roof covering for signs of wear or damage. Check for cracked, missing, or curled shingles on sloped roofs. Look for blisters, cracks, or separations in flat roof membranes.
Examine seams and joints closely. These are vulnerable areas where water can penetrate. Ensure proper overlap and adhesion.
Use a moisture meter to detect hidden dampness in the roof structure. This can reveal leaks that aren’t immediately visible.
Check gutters and downspouts for proper drainage. Clogged or damaged drainage systems can cause water to back up and penetrate the roof.
Assess the condition of flashing around roof penetrations and edges. Damaged or improperly installed flashing is a common source of leaks.
Cost and Preparation

Roof testing costs vary based on factors like inspection type and roof size. A thorough method statement outlines the testing process, ensuring efficiency and safety.
Estimating Testing ExpensesCosts depend on roof size, pitch, and location. Some contractors offer basic inspections for free before undertaking repairs. Roof water tests may incur additional fees due to specialized equipment and labor. It’s advisable to get quotes from multiple certified inspectors to compare prices and services offered.
Preparing the Method Statement
A method statement for roof water leak tests is crucial for effective testing. This document outlines the step-by-step process, required equipment, and safety measures. Key components include:
- Scope of work
- Testing equipment list
- Safety precautions
- Test procedure details
- Documentation methods
The statement should specify water application techniques, duration of testing, and observation periods. It must also address potential risks and mitigation strategies. Proper preparation ensures the test is conducted safely and yields accurate results.
Contractors should tailor the method statement to the specific roof type and building structure. This customization helps identify vulnerable areas and focuses the testing process.
Rabbit Roofing – Premier Metal Roof Installation in Tampa
Rabbit Roofing is renowned as the premier provider of metal roof installation in Tampa Bay, FL. With a reputation built on excellence and reliability, our team of expert metal roof installers in Tampa ensures each project is completed with precision and care. We specialize in delivering top-notch metal roof solutions that are not only durable and weather-resistant but also aesthetically pleasing. Trust Rabbit Roofing for all your metal roof installation needs in Tampa, and experience unparalleled quality and service that sets us apart from the rest.

